Your AI-powered Webex meeting assistant is here
Effortlessly capture, transcribe, and manage your Webex meetings with AI magic. Notta makes sure you catch every detail with real-time transcription, giving you clear notes and summaries to quickly review and share with your team. Stay on top of your game without breaking a sweat!
How to take notes in Webex with Notta
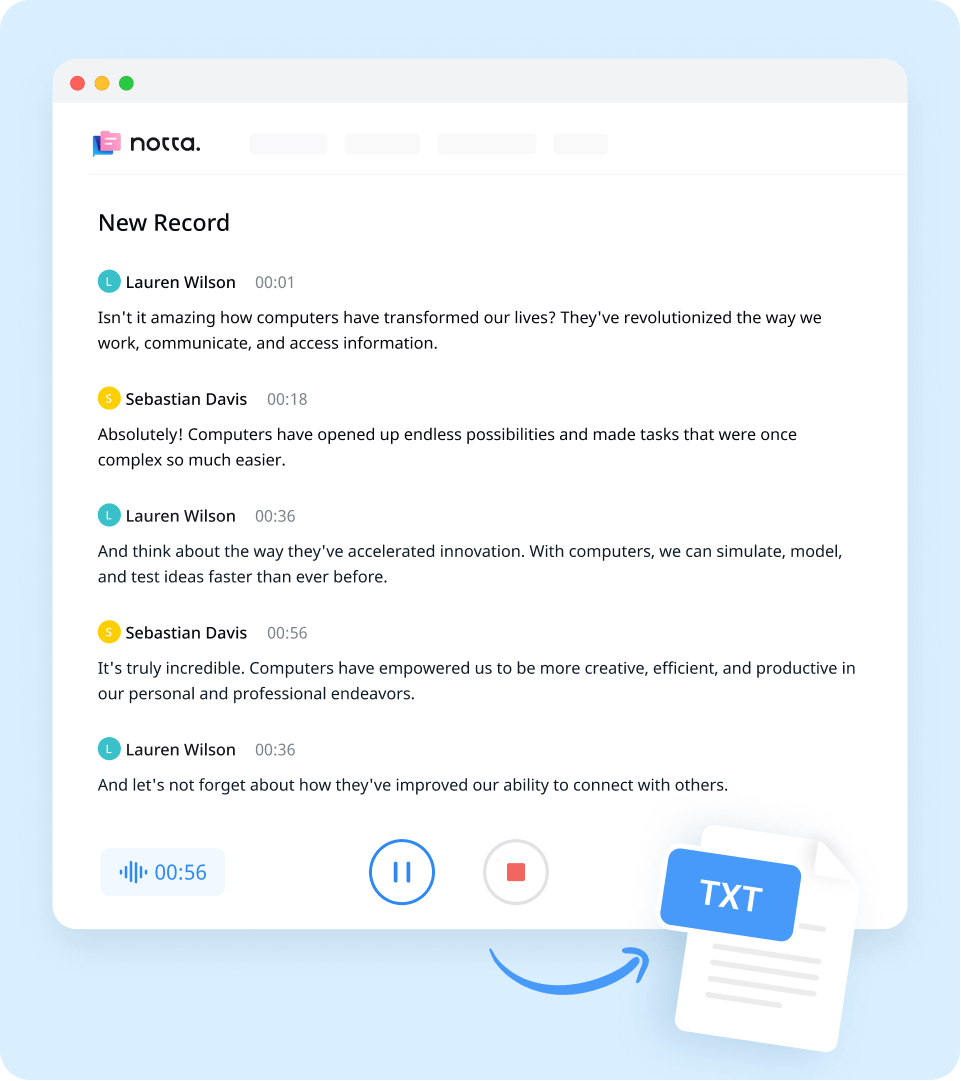
1. Connect Notta to Webex
Launch Notta and link it to your Webex session by pasting the meeting invitation link. This allows Notta to access your meetings and start transcribing automatically.
2. Start your Webex meeting
Begin your Webex meeting as usual. Notta will automatically join the meeting and start capturing everything that's said.
3. Review and share notes
After the meeting, Notta will provide you with an accurate meeting transcript. You can quickly review these and share them with your team to ensure everyone stays on the same page.
Online meetings made better with real-time AI
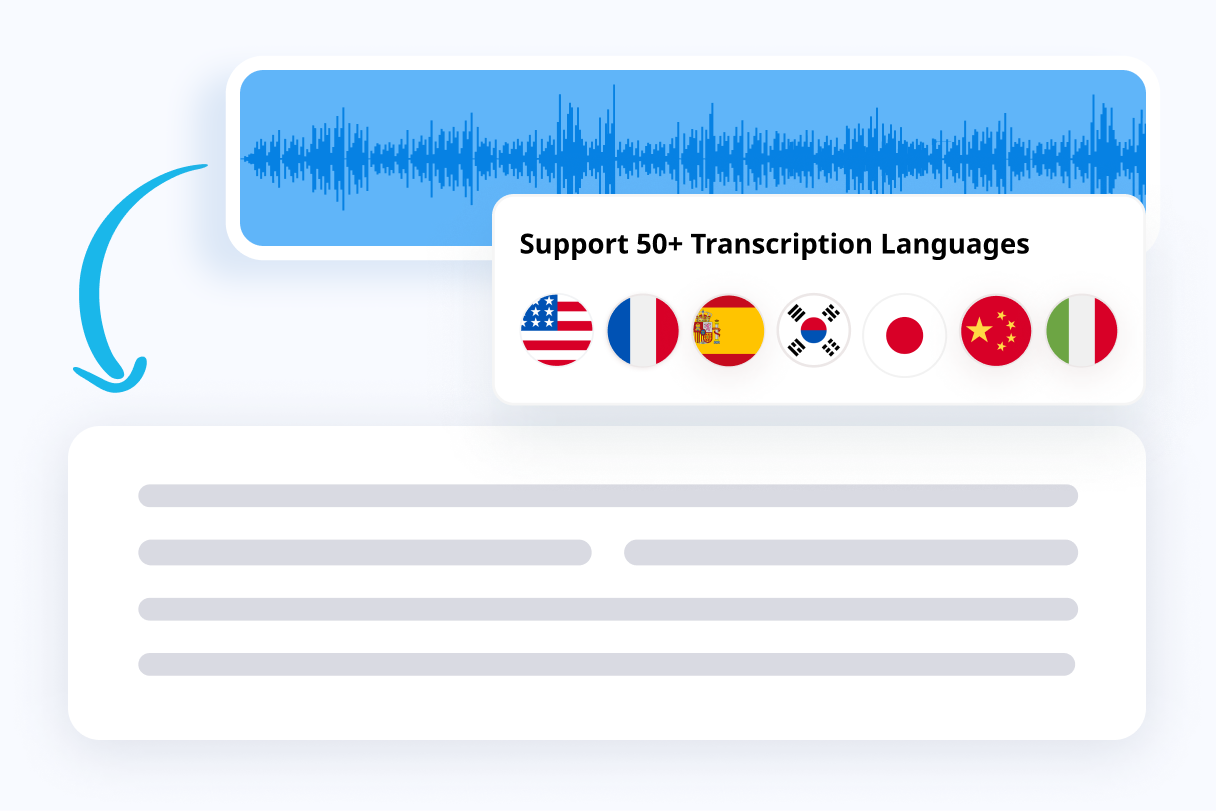
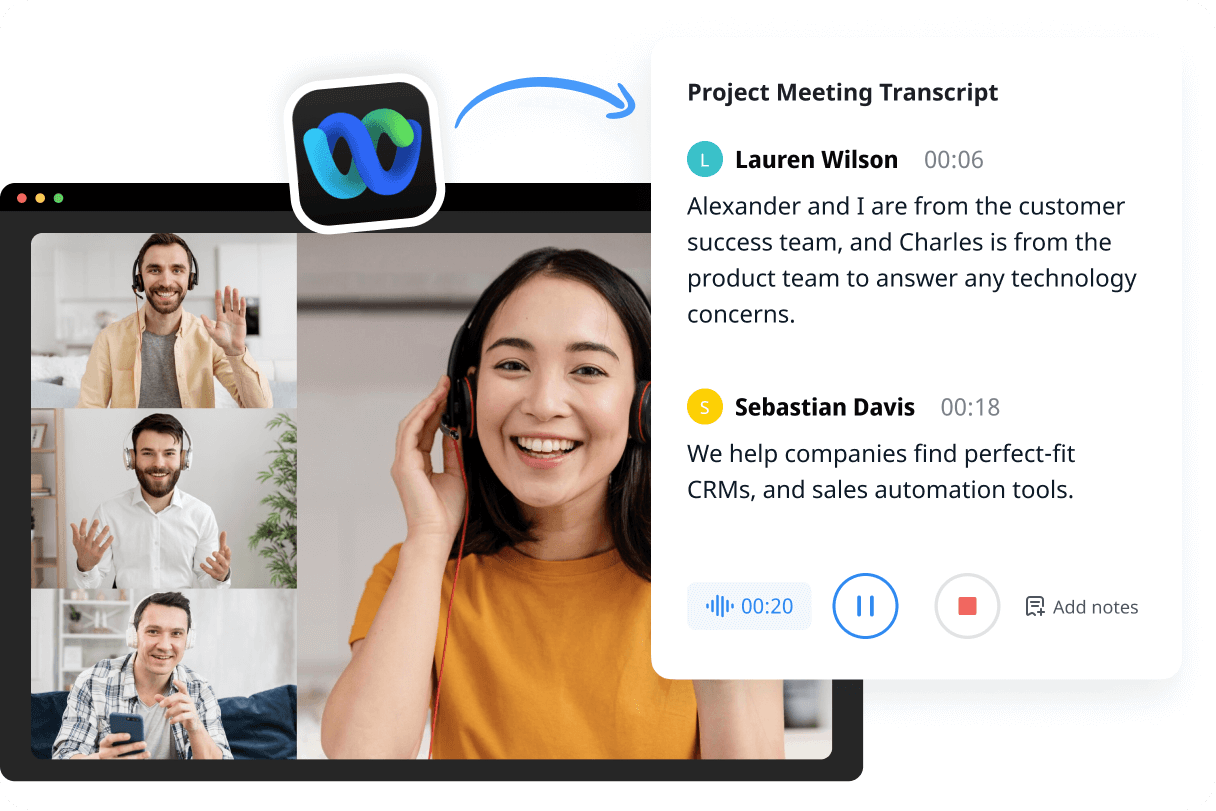
Record and live transcribe Webex calls
Capture every word during your Webex meetings with Notta's real-time transcription. Effortlessly record and download audio, video, and transcript.
Supports 58 languages, offering more than just English
Accurately identify each speaker and their contributions
Also work with Zoom, Teams, Google Meet, and offline chats
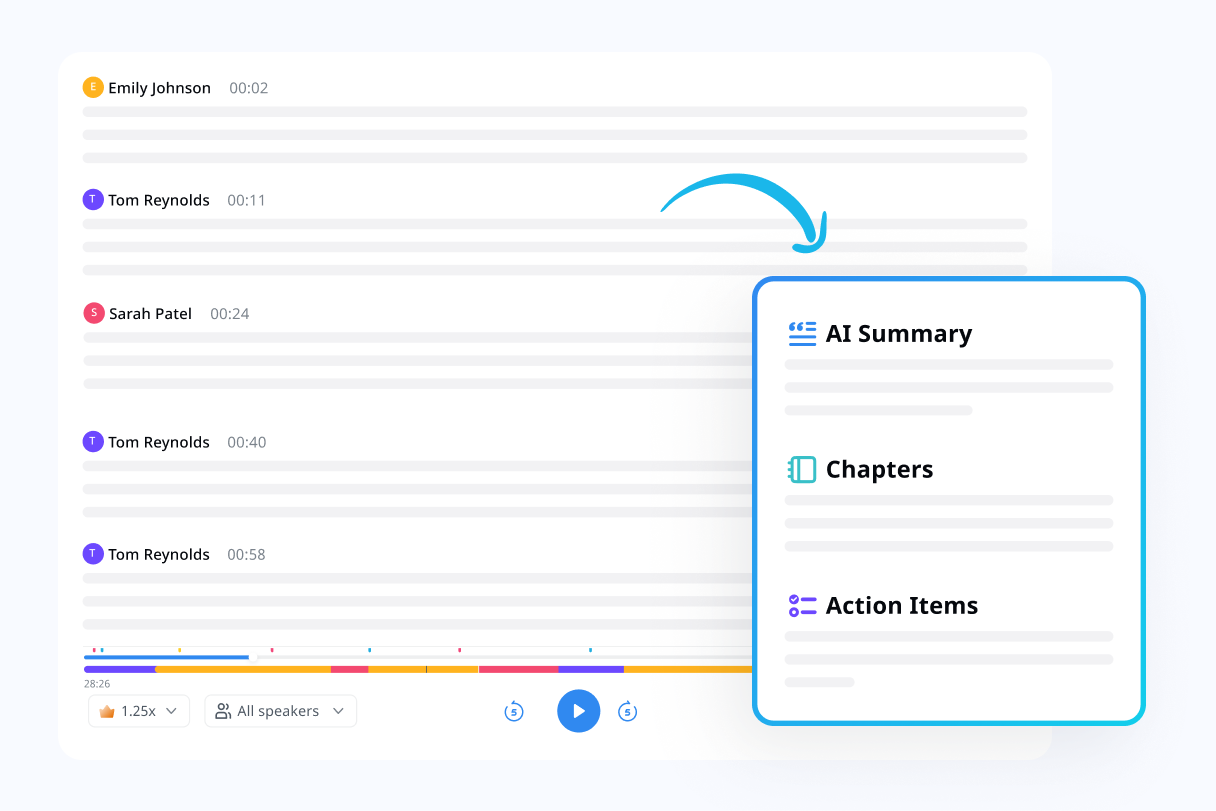
Make meetings searchable and actionable
Turn your meeting notes into a valuable resource. Easily search through transcripts, highlight key points, and convert discussions into actionable insights.
Find specific keywords or topics across all your conversations
Generate post-meeting summaries with clear action items
Bookmark important sections for quick reference
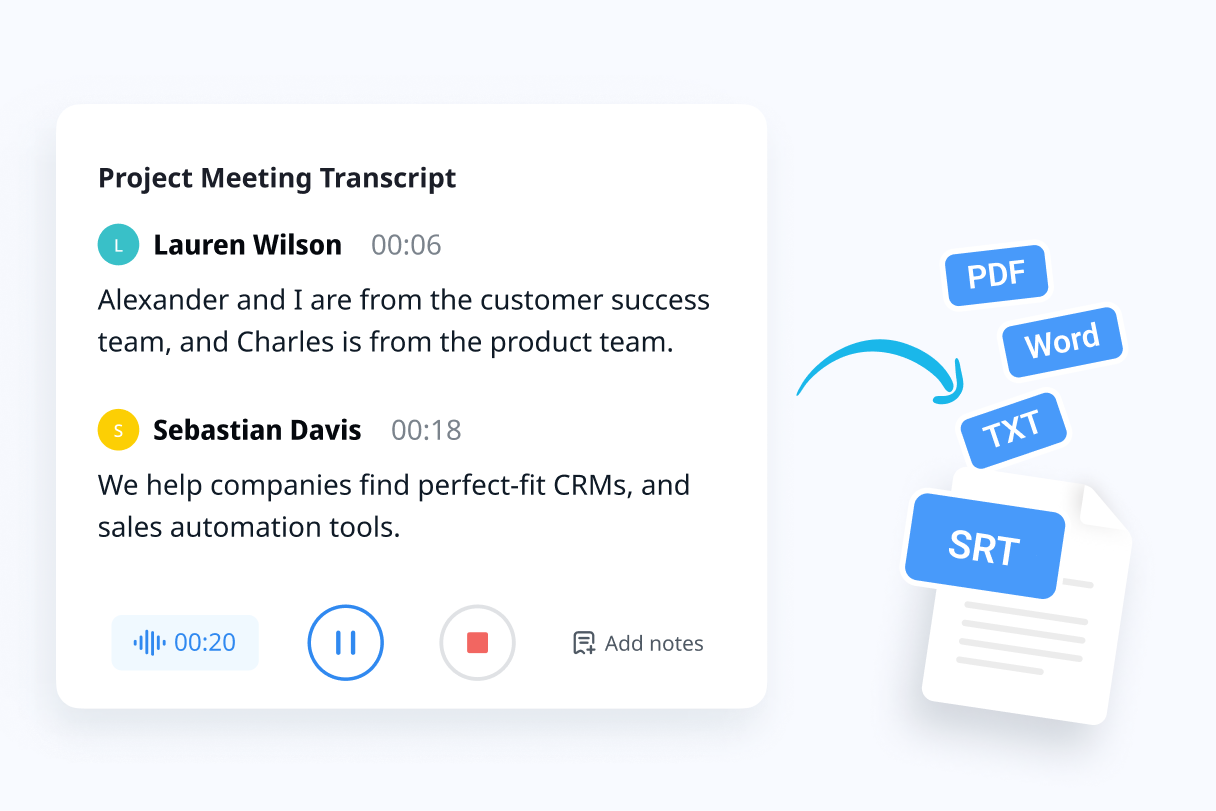
Share meeting notes in multiple ways
Easily distribute your meeting notes to keep your team informed and aligned. Choose from a variety of formats and platforms for seamless sharing.
Invite team members to leave time-stamped comments directly on the transcript.
Share notes via email, links, or directly within collaboration tools like Notion or Slack.
Export notes in various formats, including PDF, Word, or plain text.
Why choose Notta
Easy to setup
Effortlessly connect Notta to your meeting by simply copying and pasting the meeting URL—no tech expertise needed. Start transcribing and recording in minutes!
AI-powered accuracy
Notta’s advanced AI technology delivers transcriptions with up to 98% accuracy, ensuring every word is captured with precision.
Create snippets
Quickly create and share snippets of key moments from your recordings, making it easy to extract and reference important information.
Custom AI templates
Use pre-built templates or customize your own to fit your project’s needs, ensuring your meeting summaries are perfectly tailored for any audience.
Recording upload
Simply upload meeting recordings directly from your local drive or by pasting links from Google Drive or Dropbox into Notta.
Sync between devices
Access your Notta account on any device. Transcripts and recordings seamlessly sync across desktop and mobile platforms.
What our users say
Frequently asked questions
What is Webex?
Webex is a popular online meeting and video conferencing platform used by individuals, businesses, and organizations worldwide. With Webex, users can easily host virtual meetings, webinars, and collaborate with others in real-time, regardless of their location.
How to record a Webex meeting?
Recording a Webex meeting is quite easy, and it is a convenient way to have a record of the meeting for future reference. To record a Webex meeting, follow the simple steps below:
Step 1: Launch the Webex Meeting
Before recording the meeting, launch the Webex meeting as you usually would.
Step 2: Start Recording
Click on the 'Record' button located on the meeting toolbar, and then select 'Record on my computer'. This will enable the recording of the meeting to be saved on your device.
Step 3: Pause or Stop Recording
You can pause or stop the recording at any time by clicking on the 'Pause Recording' or 'Stop Recording' button respectively.
Step 4: Access and Share the Recording
Once you have stopped the recording, the Webex platform will automatically convert the recording to MP4.
Where are Webex recordings saved?
When it comes to recording Webex meetings, it's important to know where those recordings are being saved.
For Windows users, recordings will save to the Documents folder in My Computer by default.
Mac users can find their Webex recordings in the Home folder, which can be accessed through Finder. By default, the recordings will be saved to this folder for easy access.
Can I transcribe a Webex meeting?
Yes, you can transcribe a Webex meeting using various methods.
One option is to use the Webex Assistant or closed captioning feature, which can automatically transcribe and display the spoken words on the screen during the meeting. However, this feature may not be available for all Webex plans or may not be accurate in capturing every word.
Another option is manual transcription, which involves listening to the meeting recording and typing out the spoken words. This can be time-consuming and tedious, especially for long meetings.
Alternatively, you can use a voice-to-text application like Notta to transcribe your Webex meeting. Notta uses artificial intelligence and machine learning algorithms to accurately transcribe the spoken words into text in real-time, saving you time and effort.
What is the easiest way to transcribe my Webex meetings?
If you're looking for a quick and efficient way to transcribe your Webex meetings, Notta is the best option available. Notta provides seamless integration with Webex, making the transcription process as simple as possible. All you need to do is record your Webex meeting and then upload it to Notta. Within a few minutes, Notta will generate an accurate transcript of your meeting.

Tyler Craig
Student
I use Notta before my tests for studying, and I like that it’s easy to get YouTube videos transcribed as well. Some of my course content is on YouTube and being able to get it in text makes reviewing so much easier. 5 stars!